Showing posts with label Papercraft. Show all posts

Tuesday, 2 April 2013

Chocolate Collapso and Canny Crafting

Hello lovelies,

I hope you enjoyed the Easter break and that your teeth are still intact after the possible chocolate overload! Oddly for me, whilst I have lots of the stuff in the house I've only indulged in a couple of tiny choccies.  How strange!  That said.....the man and I decided to have some of our eggs this evening after tea..... erm.... we happened upon this awful scene.

Note to self.  The window sill above the heater is probably not
the best place to store chocolate comestibles.  


Anyway.... moving on.  

As you will know I love papercrafting.  What I don't like is the potential expense of it and am always on the look out for cheap, everyday items which I can utilise on my layouts in some way.  I really do admire the incredible beautiful work of the uber-scrappers out there but it never ceases to amaze me how much stash some of them use on one page.  I've checked out the cost of some of the embellishments used on a single layout and it makes my eyes boggle, particularly as most scrapbooking pages are put into albums and hidden from view.  These costly masterpieces should be hung on walls for everyone to see! 

As usual, I'm digressing!   

If you take a look in the DIY section of your local "Emporium of Poundness" (!), there are usually some goodies which, with a little thinking outside of the box, can be utilised in your crafty endeavours!

This is what I picked up this week ....

A "Techno Mat" (don't you think thats a hilarious moniker for something so humble?!).    Basically this is a width of rubberised material which prevents rugs from slipping around beneath your feet.


You can see that there's a fair amount of it to play with! 
This is very pliable and soft, almost rubbery.  

I cut  a piece from it to see what I could do to it! 
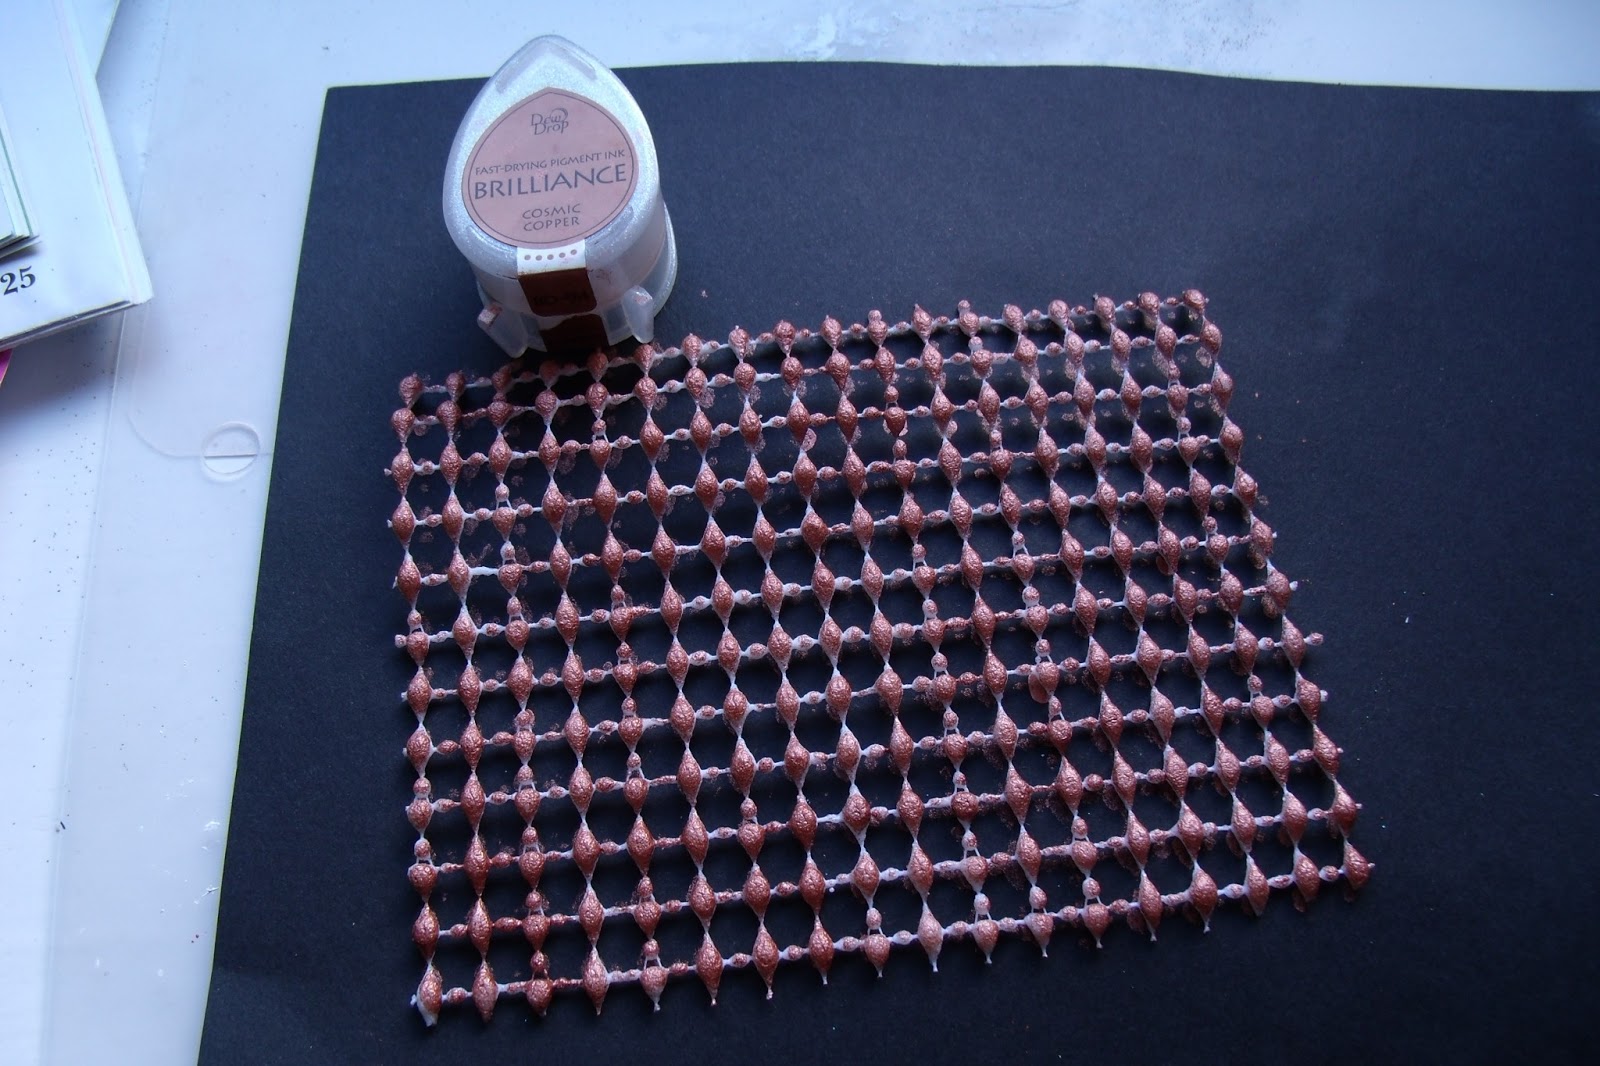
 It takes ink quite well and would look good under photographs as a mat. 

I then flipped it over and stamped the ink on to some cardstock!

And then moved it slightly and sprayed some Perfect Pearls over it - I quite like that effect!

So - some interesting backgrounds and matting to be had from that product alone. 

Next up, a coil of 'gutter guard'. This is a lot stiffer but can be easily cut to whatever size you like with normal scissors.  There is 3 metres of this stuff on the roll! 


 I covered it with acrylic paint, then stamped over it with a clear embossing pad.

I then gave it a covering with some embossing powder, and gently heated it with a heat gun.  Take care with this bit as of course too much heat in one place and the plastic will just melt into a heap.  I used some tweezers to hold the mesh whilst I heated it. 


I chose a verdigris embossing powder on this bit which turned out quite nicely.


You can also cut into stylised shapes - I cut out a heart and embossed it in copper

.

And then added a few teeny paper flowers which cost £1 per pack from The Works.


Any decent clear glue will stick this to your layouts, or maybe you could add a couple
of stitches here and there - or how about a staple or two for a  more 
industrial look?  

I've mentioned my "flexible chopping mats" in a previous post.  These have been absolutely invaluable.  I paid a pound for two, however I've now seen them in Home Bargains for 79p for a pack of two mats.   I use them all the time.  They're great for protecting surfaces, for inking up and using like the more expensive craft mats, (which I've seen online for £15.99 each),  for spraying on, I've used acrylic paints on them and they clean up beautifully using a couple of baby wipes and some kitchen paper. 

How about you?  Do you have any favourite bargaintastic crafting buys to share? I'd love to hear about them .
See you soon! 

Sunday, 13 January 2013

Snoozesome Sunday

Hello Bloglies and a very warm welcome to my new follower Christine.

 I went out to my firm's 'Winter Party' on Friday and as a result had a bit of a late one.  I was very, erm,  'tired and emotional' by the time I got home - I personally blame the poisoned carrots **smiles innocently**

I've given myself the weekend 'off'  from houseworky type duties.  I find this very difficult to do and always seem to feel guilty at sitting and doing "not-a-lot".  I always feel like I should spend my weekends cooking, cleaning, shopping and washing but this weekend I've played hookey from the lot of it - apart from a  quick top up food shop this morning.  I spoke to a friend yesterday and we were both bemoaning the fact that we feel that we have to justify being a little lazy from time to time.  After a busy working week, no-one should have to justify a little R&R time.  I  decided to use this feeling as a prompt for a page in my art journal.

I really do struggle with 'art' - and I mean that most sincerely (folks).  What I see in my head refuses to transcribe itself onto paper and I often end up feeling annoyed and frustrated.  I'm trying to use the journal for the purpose of  'therapy' and escapism however and so I'm just going to have to learn to be a little more kind to myself and accept that whilst I am no great artist - art journalling means that there are no expectations, limitations or boundaries.  Once I get over that obstacle in my head and stop with the silly comparisons to other people's work, then perhaps I'll feel more able to express myself a little better.

Any - this the entry I created based on the feeling that I really have enjoyed just being at home this weekend.

Initially I sprayed the pages with Perfect Pearls mist  in pewter, as a base.  I dried this off with my heat gun, before inking up some bubble wrap and pressing this onto the pages. I sprinkled some copper embossing powder over this and heated it to set it.   I then spritzed the page with some pink lustre shimmer mist and stamped "It's OK to SIMPLY BE" using an old alphabet stamping set I had.  I used two 'cog' wheels I had been sent in a swap and heat embossed these in copper  I then wrote the word 'unwind' around the cogs.  Using a couple of miniature stamps, I stamped butterflies and the word 'Bliss' randomly around the pages.    The little blue starry patch at the bottom of the first page was actually a die cut cup cake wrapper which I had saved from when I went away recently - and although the cakes were lovely the wrappers were far too pretty to simply throw them away.  I used one as a mask and inked over it, then flipped it over and pressed the inked side into the page.  I finished off by sticking a couple of sentiments on and the wrote words associated with relaxation around the page edges.  Thanks for looking!

Hope your weekend was a good one.

See you soon! :)


Sunday, 6 January 2013

Scrapping Sunday

Hello there

A very warm welcome to my new followers AJ and Monalisa - many thanks indeed for becoming followers of my whitterings.  :)

There's not much to report from Peapodland right now.  I went back to work last Wednesday so my days were taken up in the latter part of the week with the mundane goings on of a law firm.  Move along there - nothing to see!!

Project Shed-pod is coming along nicely, with the insulation and cladding all but finished.  The painting can start then and after that, the flooring and shelving.  And then I can bliddy well get in there and do stuff!!


As there is a dearth of photographs to share from the last few days, I thought I'd share some scrapbooking layouts with you which I created at the Cardinal Colours retreat back in September.  Please excuse the shocking picture quality.  I've decided that the GE X5 really is the most rubbishest (!) of cameras known to man. I've tried very hard to love this camera but truth be told  I'm so disappointed with the picture quality - particularly those taken indoors.  It takes about 20 shots of the same subject to get once half decent one.  The macro function is awful.  The focus is terrible and the lag in taking an actual photograph is far too lengthy.  I'm really not impressed and shall be looking to replace it as soon as possible.  Photography is a hobby of mine and I do like taking close up shots which this camera doesn't cope with very well at all.

Anyway - I digress.

Shocked, aren't you?!

Here are the layouts then.


It's quite difficult I find to create teenage boy layouts without them looking too 'girly'.  This was a scraplift from a magazine (so sorry I can't remember who to credit :( ) but I found that the simple lines of the circles and 'ribbons' worked well on a simple grunged up white sheet of card stock.  Rather than use flowers (heaven forbid!) I used a red button on some chipboard shapes to give a bit of interest but kept this one very simple apart from the patterned papers.


This one was adorned with buttons and twine, some black ric-rac, sticker letters and some copper letters I'd had in my stash for about 8 years!


Sticker letters cunningly chosen to match the Motorhead font on his tee-shirt!  (It's not just thrown together yer know!!)


I was pleased with this embellishment which I created by covering a chipboard shape with some chalk ink, and then covering it in diamond glaze which gave it a porcelain-like quality.  Blue cabachon glass stones were kindly donated by a friend at the crop.   I also covered the little hearts with some iridescent stickles to 'pop' them a little.  

And finally, just a very simple layout with the photograph matted up on onto some contrasting card stock, then onto a beautiful piece of Kanban card which I had 'glittered' a little.  Matting and layering on to more card stock was all it needed really.  


So there you go - Its only taken me three months to show you!  If you click on the photographs, hopefully the should enlarge a little.  

Have a good week!  


Saturday, 1 September 2012

Friday Crafty Corner

Hello lovelies!

I haven't crafted for a while, mainly due to lack of time and space, however just lately the yearning to play with bits of paper and glue has returned with a vengeance! 

I first developed a passion for paper crafting (mainly scrapbooking) some time ago now when an American friend introduced me to it.  A little later, after visiting a couple of scrapbooking fairs, I enrolled on U K Scrappers, a crafting forum, and through that forum met a group of ladies who I am blessed to class as some of my very closest friends.  We've been friends now for a number of years and have our own closed community forum where we chat every day.  A little later this year, some of us are getting together at a weekend retreat to indulge in lots of eating, chatting, laughing (lots) and maybe a little crafting too!

One of our number issued a small round robin challenge recently.  Basically anyone who wanted to take part would put together a small kit together with instructions for a project to be created by the recipient.

Yesterday I received my package of goodies (and I've just remembered that I didn't photograph the flippin' kit before I attacked it with the scissors and glue!).

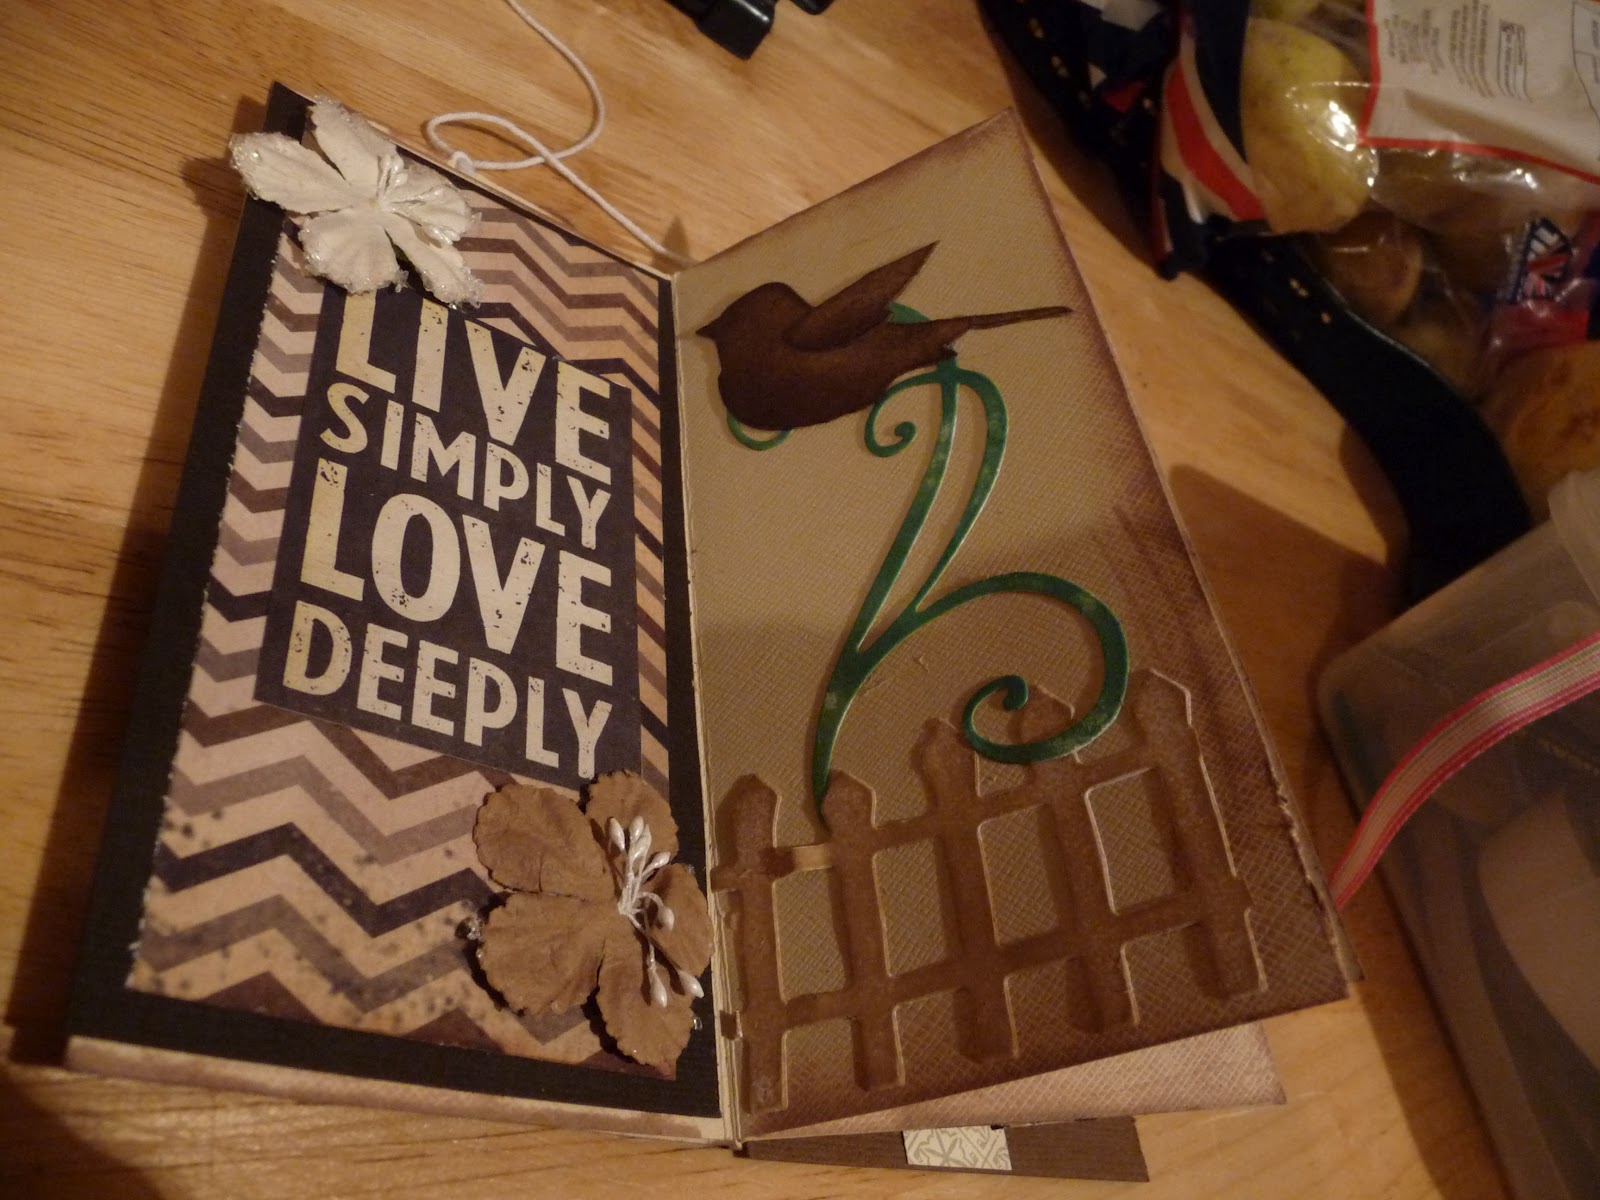
The project was to use the papers and embellishments provided to create a decorated 'minibook'.  My friend had kindly created the 'book' for me out of 8 x 12 cardstock, but I'm a clumsy, sausage fingered crafter and needed something a tiny bit bigger to work on, so re-created the minibook from 12 x 12 card stock.  

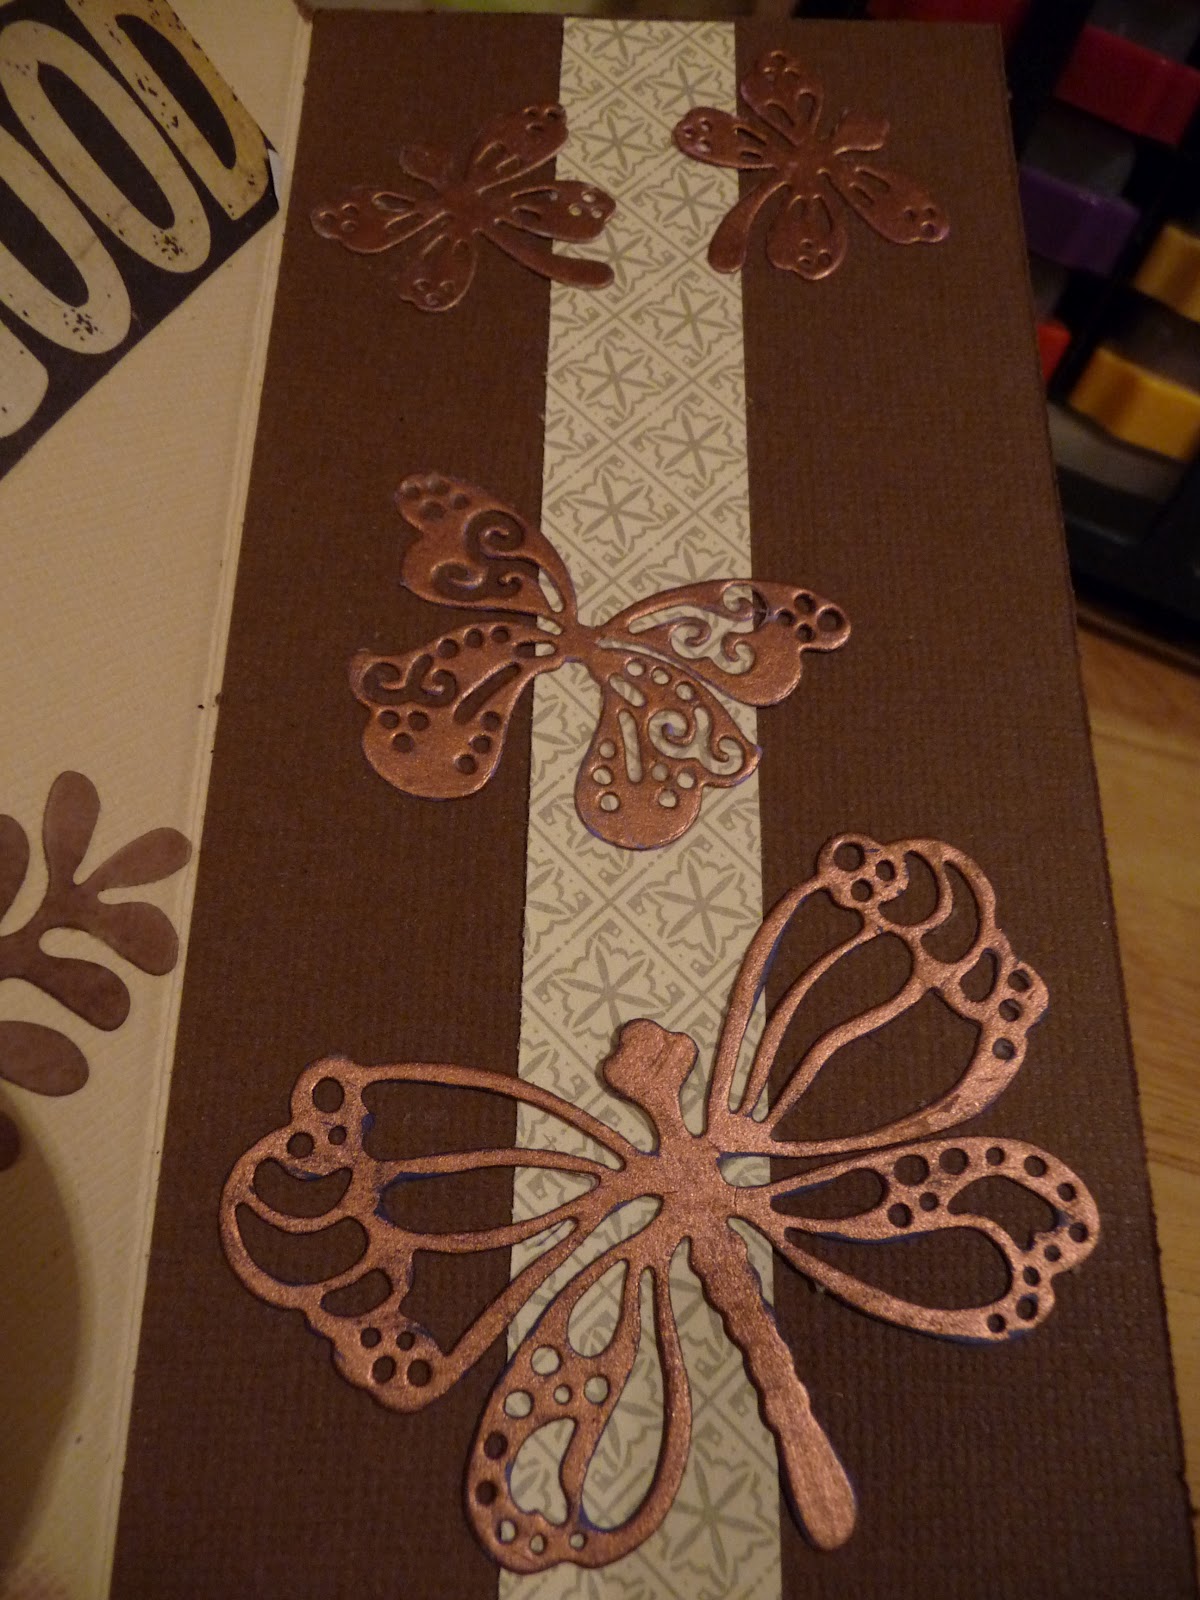
Having inked the edges of each page with a nut brown ink pad, I matted up the front cover with two types of gorgeous patterned paper, I cut spirals from some dark brown card stock and attached two butterfly embellishments.  When the book is moved, it looks like the butterflies are fluttering!  


These butterflies are so pretty - they have an iridescent sheen on them which reflects the light.  Gorgeous!

As it's well known that I'm head over heels in lurve, the sentiments, papers and embellishments provided were of a very romantic nature and complemented each other perfectly.  The flourish and picket fence were provided to me in white card stock, so these were inked up to give a little definition.


Aww - L is for Lurve! 


Again the die cut butterflies were beautifully cut from white card which allowed me to employ my snazzy copper gilding pen to do a little 'colouring in'.  I was really pleased with this effect.


This is how the book looks in all its glory!


I sealed the bottom of two of the pages to make pockets, then decorated two of the tags with more of the embellies provided.


The tags slot perfectly into the 'pockets' and give a bit of added interest.


Ta-dahhh!  The first crafting I've done in ages!  Thank you Sherri - I've had a lovely chilled out afternoon, cutting and sticking to my heart's content!  

Looking forward to the next challenge now!


Working from home

I've taken a precious day of annual leave today.  I've really struggled this week with feeling so yuk and I needed the restorative ...